Template is a feature that help users create their own email forms or quick response templates. Using template helps optimize the user's time and operation activities on the system.
Social Media Reply Form
These templates are used to help users deliver faster response but not intended to be used as automated replies. Only the user who creates the response templates can use them.
To access Social Media response template, select Settings → User Account → User Response Templates → Social Media.
Create a topic
Before creating a new sentence template, user should create a topic first in order to attach a topic to that template. Adding topic to a template makes it easier to categorize and search.
To create a new topic:
Step 1: On the Private Social Response Template screen, select Topic.
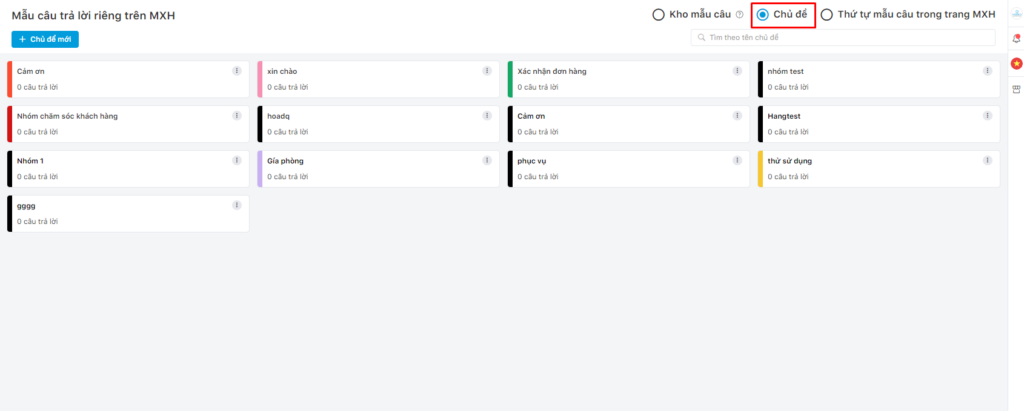
Step 2: Click + New Topic. The system displays an interface for the user to set up.
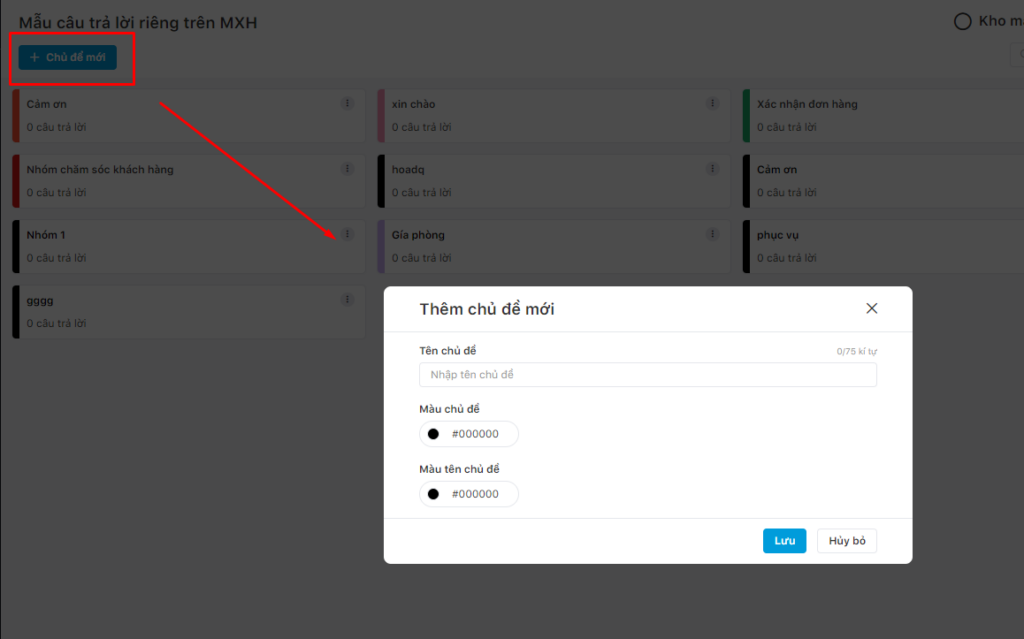
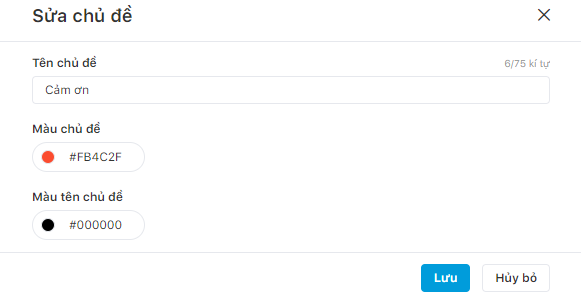
Step 3: Fill in the following information:
- Topic name
- Color of topic
- Color of topic name
For example, if you want to create a topic as Offers, the color of topic is blue, and the color of topic name is pink, the newly created topic displays on the screen as follows:

Step 4: Click Save button to apply.
Attach/Remove the response template for the topic; Edit/delete a topic
In each topic, click the ellipsis icon for further edit:
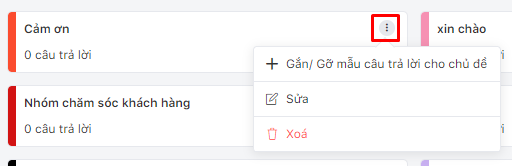
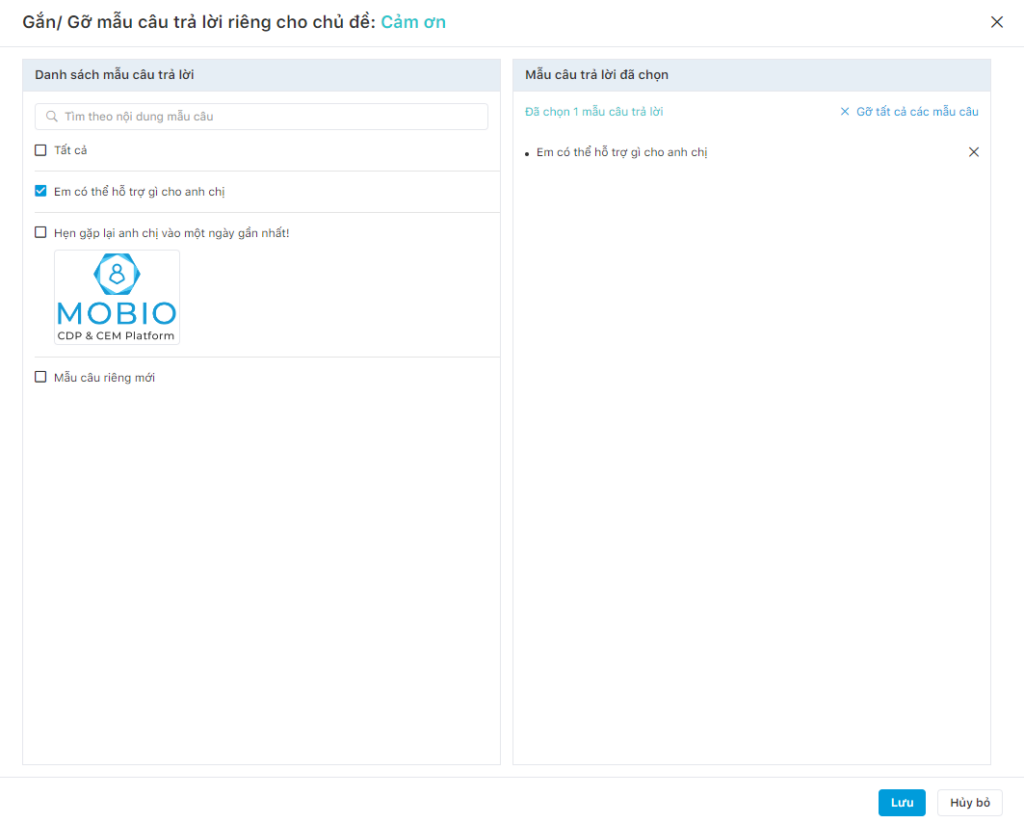
- Attach/Remove response templates for the topic: user can add existing response templates to the topic, or remove response templates from the topic.
- Edit a topic
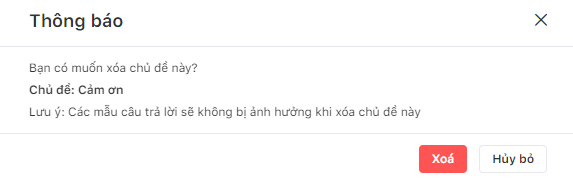
- Delete a topic
Response Template Store
Create a new response template
To create a new response template:
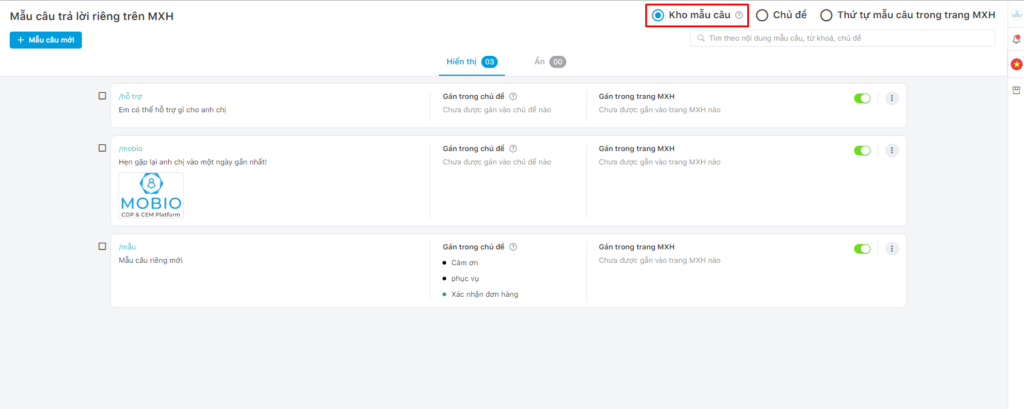
Step 1: On the Private Social Response Template screen, select Response Template Store.
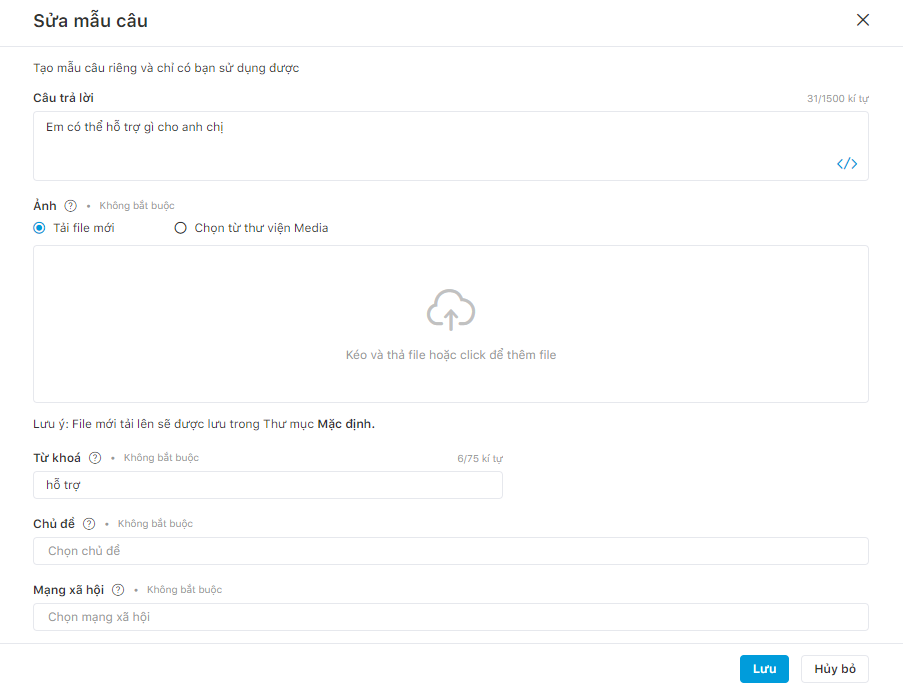
Step 2: Click + New response template. The system displays an interface that helps you edit.
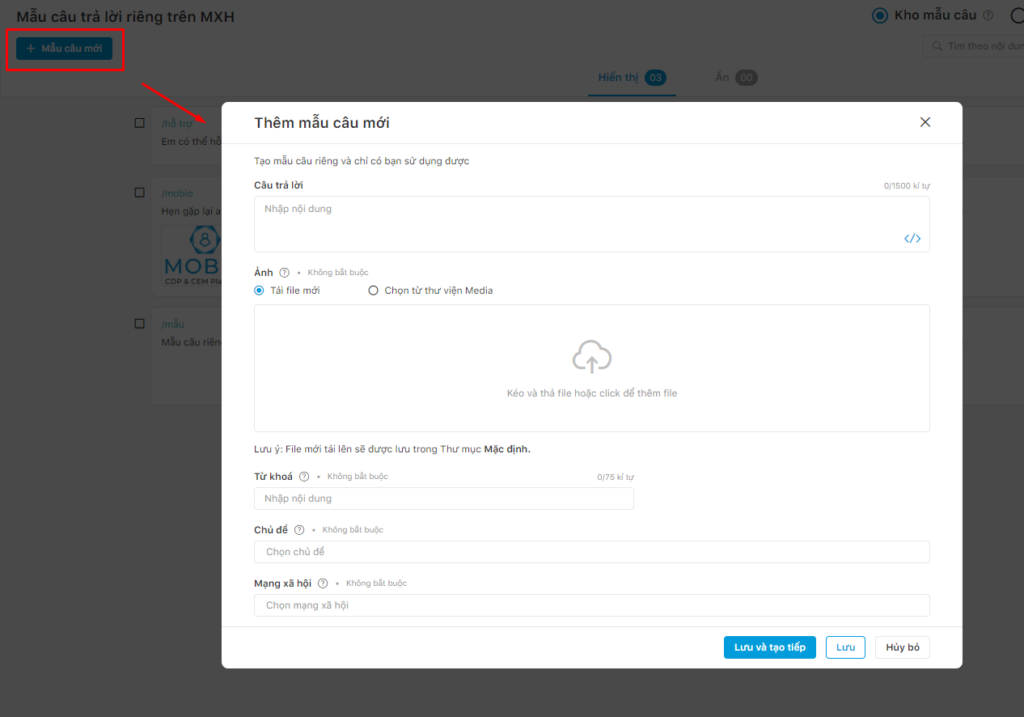
Step 3: Fill in the following information:
- Answer: sample content of the response
- Image: you can upload image from your computer or choose image from Media
- Keyword: keyword related to response template, caters for searching purpose. User just needs to type keywords on the social chat box, all response templates with that keyword will be displayed.
- Topic: the topic of the response template, caters for classification and searching.
- Social networks: select the social network where you want to use your own response template.
Step 4: Click Save button apply.
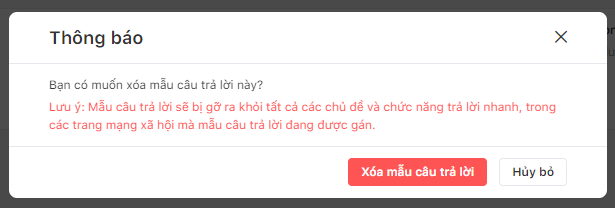
Edit/delete response template
To Edit/Delete a response template:
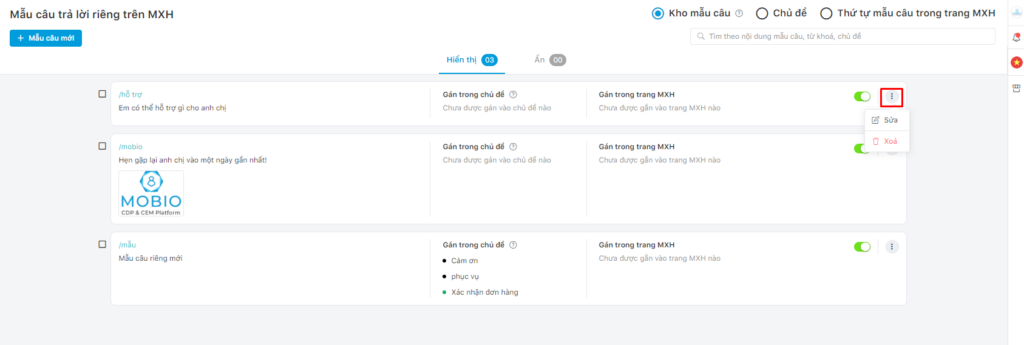
Step 1. In each response template, click the ellipsis icon, select Edit/Delete.
Step 2. The system displays the configuration interface
Step 3: Click Save to apply.
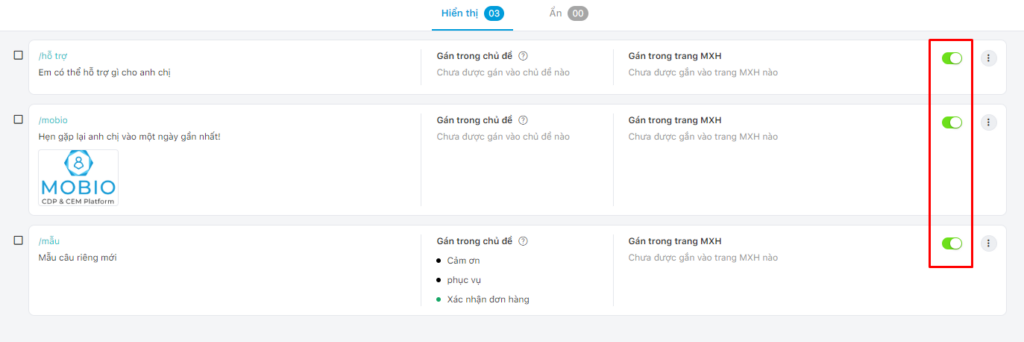
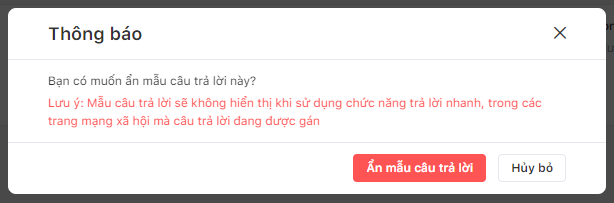
Show/Hide response template
Click the switch button at the end of each response template to hide/show it.
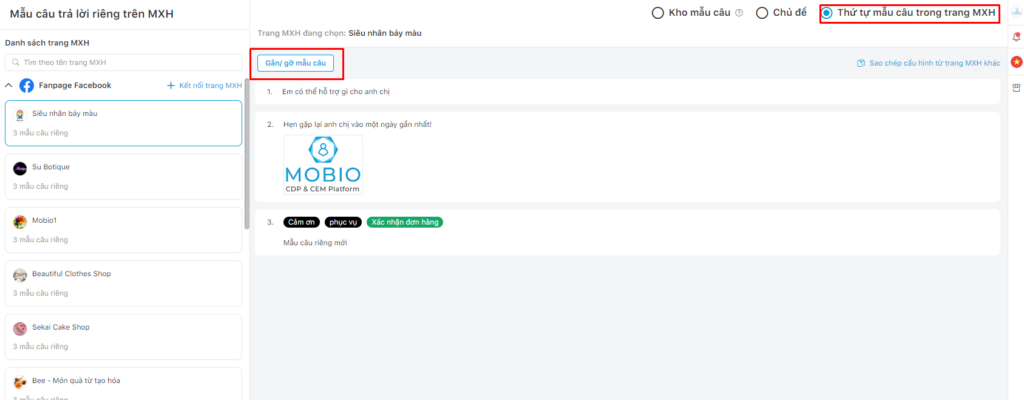
Order of response template in social media sites
In this section, user can Attach/Remove the response template from each social site as well as arrange the response order in that social site.
Step 1: Select Attach/remove response template. The pop-up screen shows for user to edit.
Step 2: Click the response template you want to add in the left column, drag and drop the response template to arrange the order in the right column.
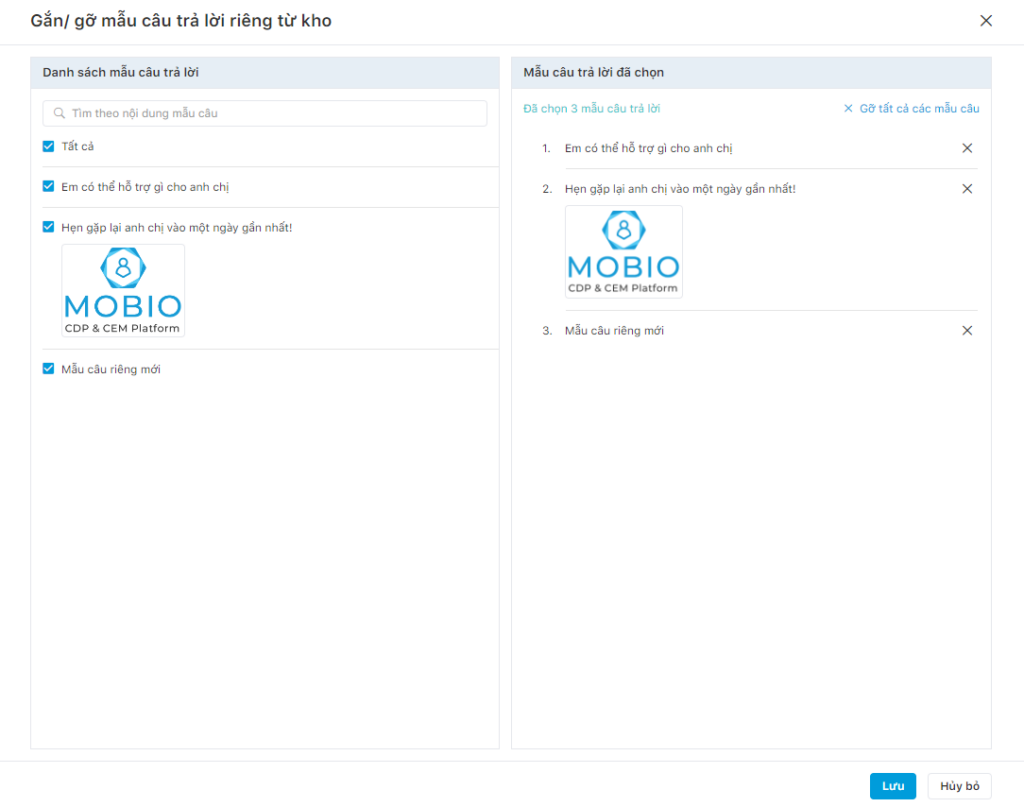
Step 3: Click Save to apply.
Additionally, you can select Copy configuration from another social media site.
Step 1: Click Copy configuration from another social media site.
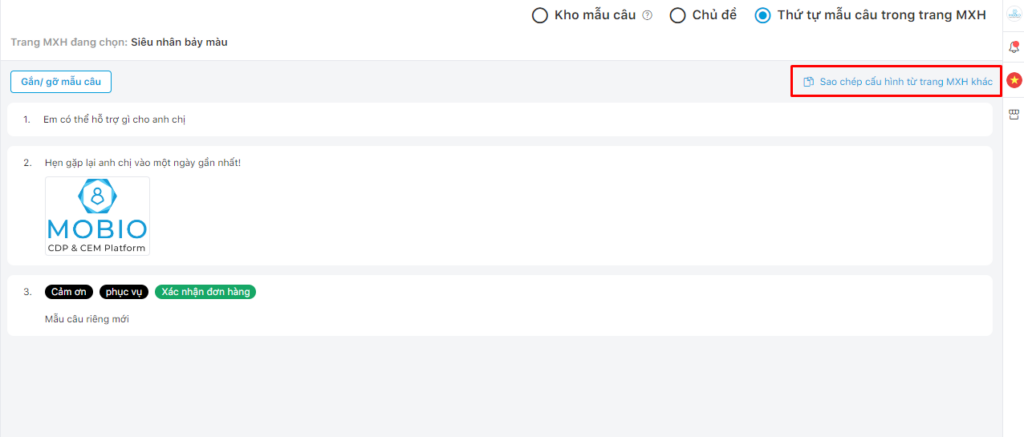
Step 2: Select the social media site that you want to copy.
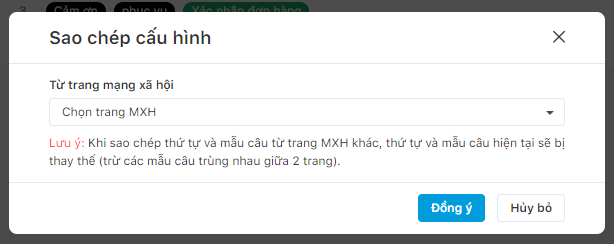
Step 3: Click Agree to apply.
Personal Canned Response
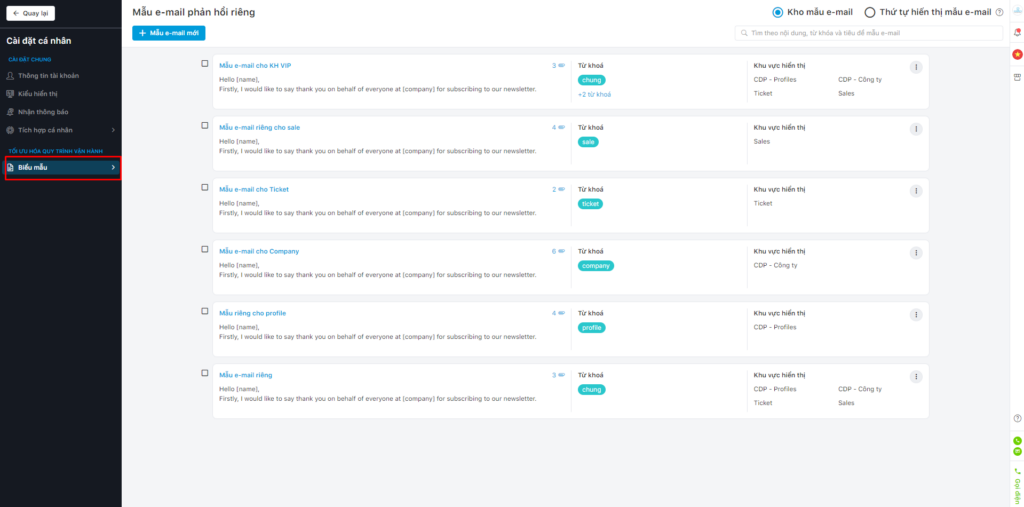
To access your own personal canned response setup section, in the bottom left corner of the screen, select Settings → User Account → User Response Templates.
Create a new E-mail template
To create a new email template, follow these steps:
Step 1. Select + New E-mail template → The popup display screen helps you set up an email template.
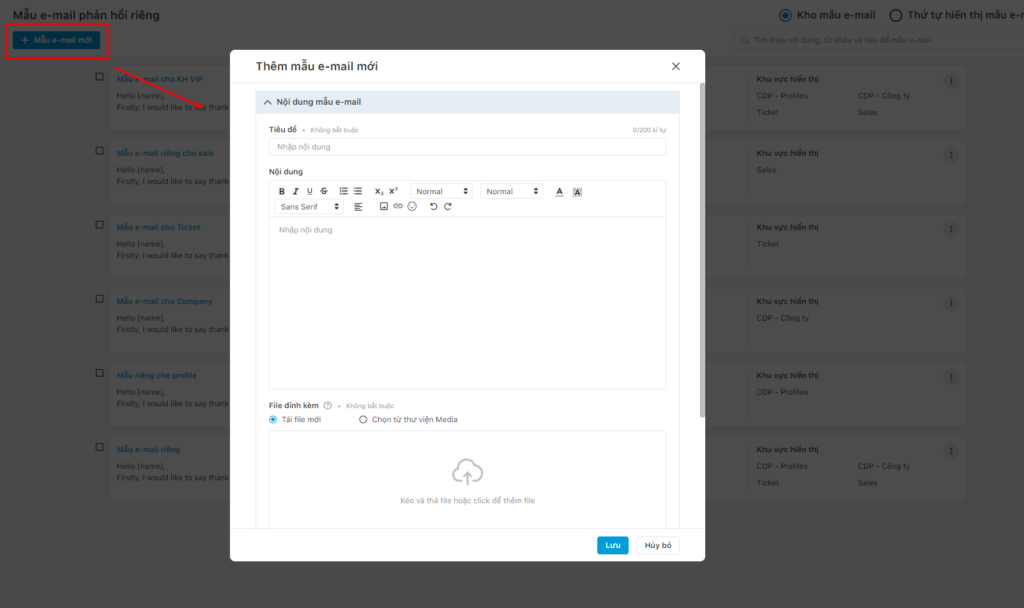
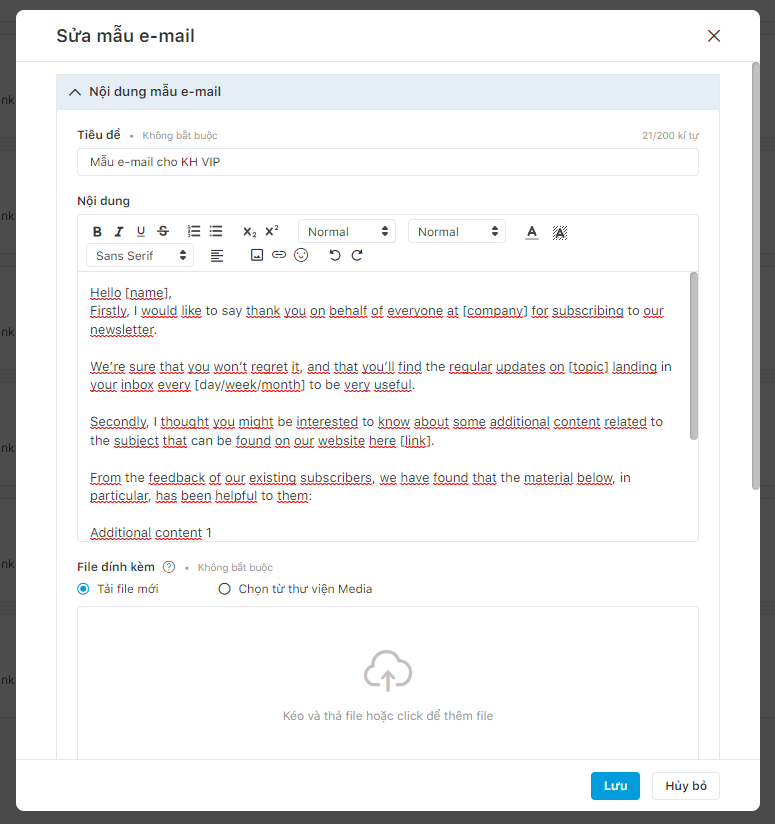
Step 2: Fill in the email template content, including:
- Title: optional
- Content: you can edit the text appearance (bold, italic…) and add images as you like.
- Attached files: Upload a new file or Choose from Media
- Keyword: add keyword to email template for easy searching
- Display area: select the module that this email template is displayed, if not selected, the email template is not displayed in any module listed
Step 3: Click Save to apply.
Copy/Edit/Delete an email template
To copy/edit/delete an existing email template, in each email template, click the ellipsis icon. The system drops down options for you to choose.
- Copy an email

- Edit an email

- Delete an email

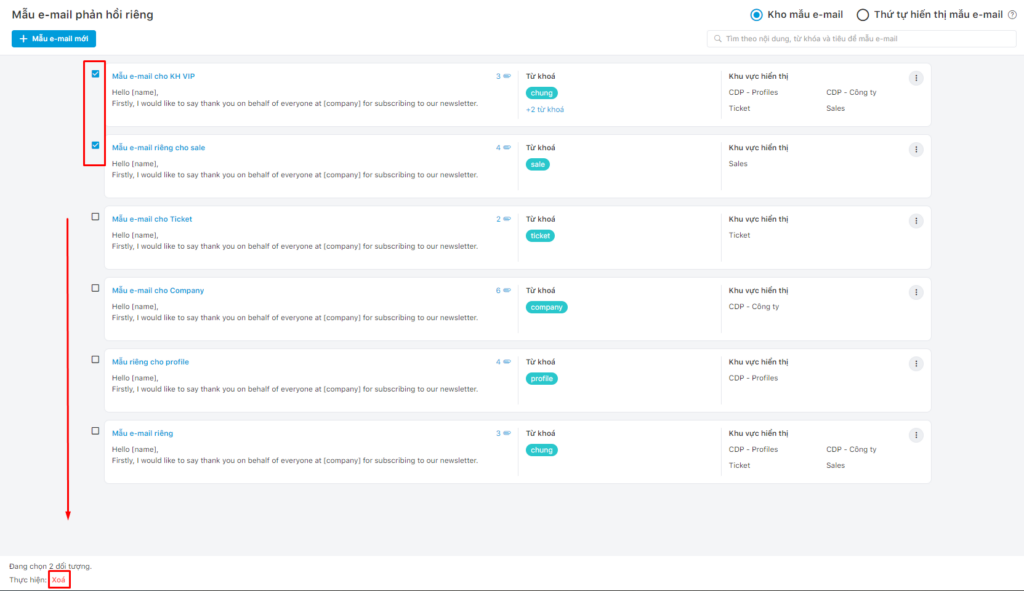
In addition, to delete multiple email templates at the same time, you can click the white box at the beginning of each template, click Delete button at the end of the line to delete in bulk.
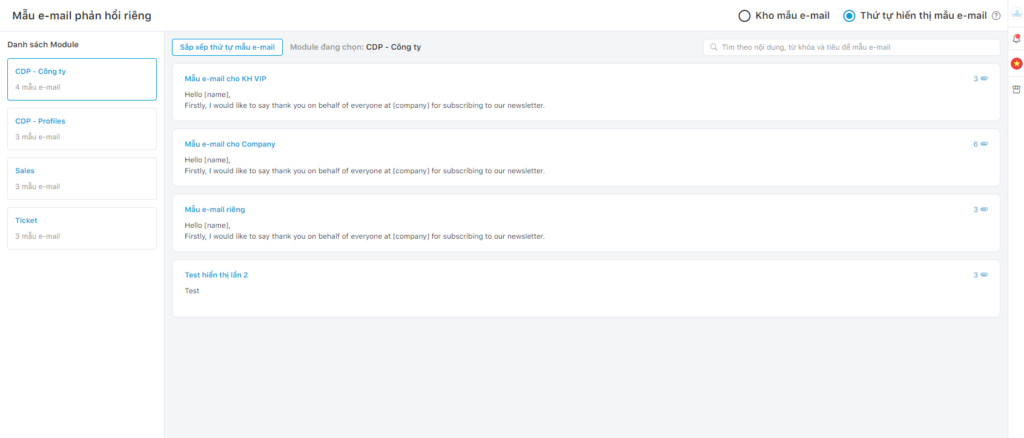
Configure Response Display Order
Here, you can arrange the order of canned response according to your needs for each module. This order applies when selecting a template in the Choose an E-mail template pane.
For example, in the CDP – Company module, canned responses for business customers are likely to be use frequently, so you should put those responses first. In the CDP – Profile module, responses for individual customers are ranked first.
To arrange the order of canned response in each module:
Step 1: You select Sort the order of canned response
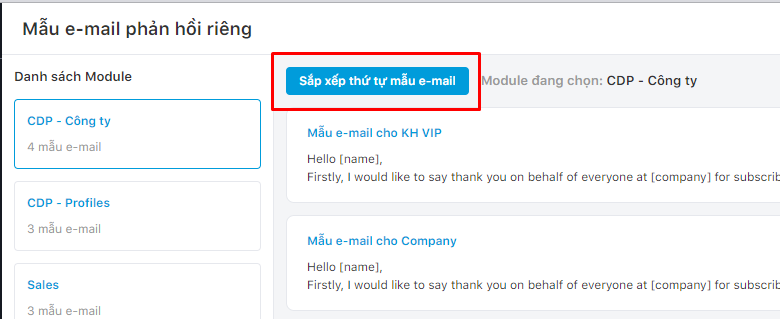
The system displays the order configuration interface.
Step 2: Make arrangements.
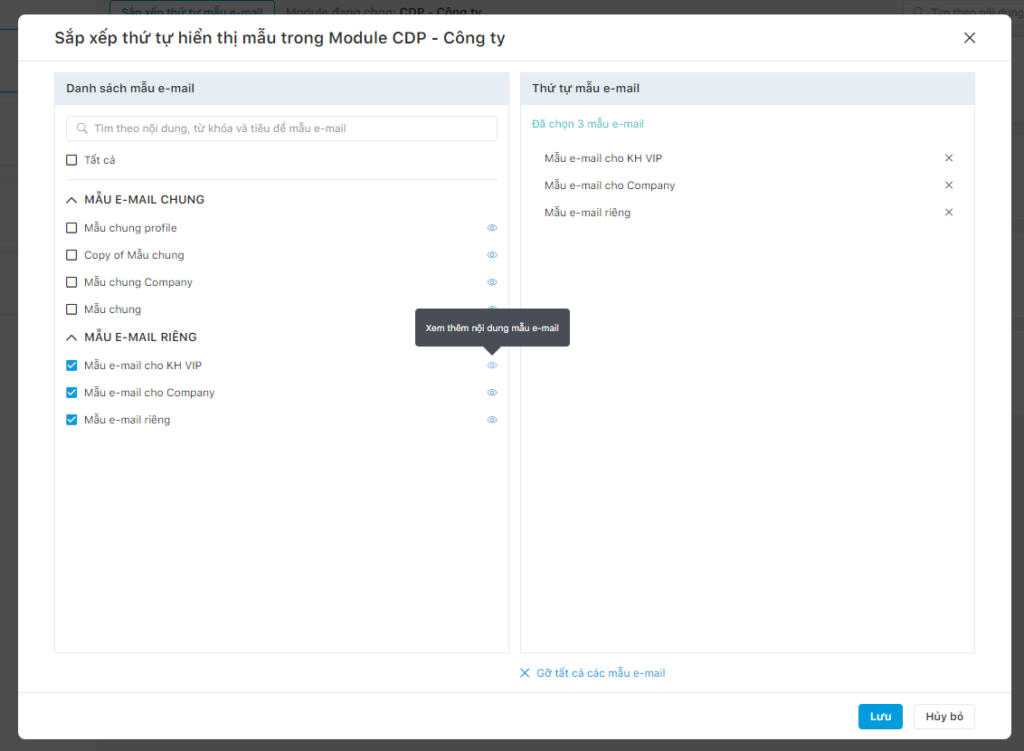
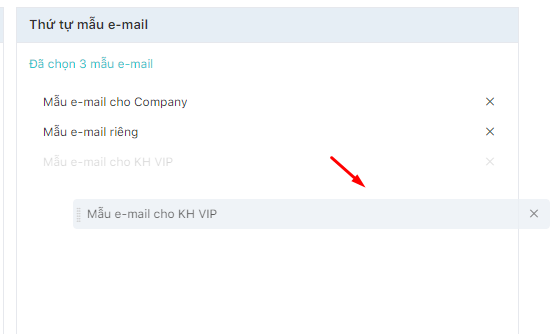
- Column 1 is a sample list of emails, including both general and personal response. You can check all to select all responses, or check each cell to select the responses you want to sort. Click the eye icon to see the contents of each canned response.
- The selected responses are displayed in column 2. You click and hold down the e-mail template name to drag and drop in order to arrange the position.
Step 3: Click Save button to apply.