Email whitelisting means that an email address is added to the list of accepted senders. Email whitelisting allows emails about your marketing activities to bypass customer email filters that have settings to check for spam and untrustworthy emails.
Email whitelisting increases the chances for your emails to appear on the user’s primary inbox rather than listed in the Social, Promotions, or Updates tabs.
Add new whitelist e-mail domain
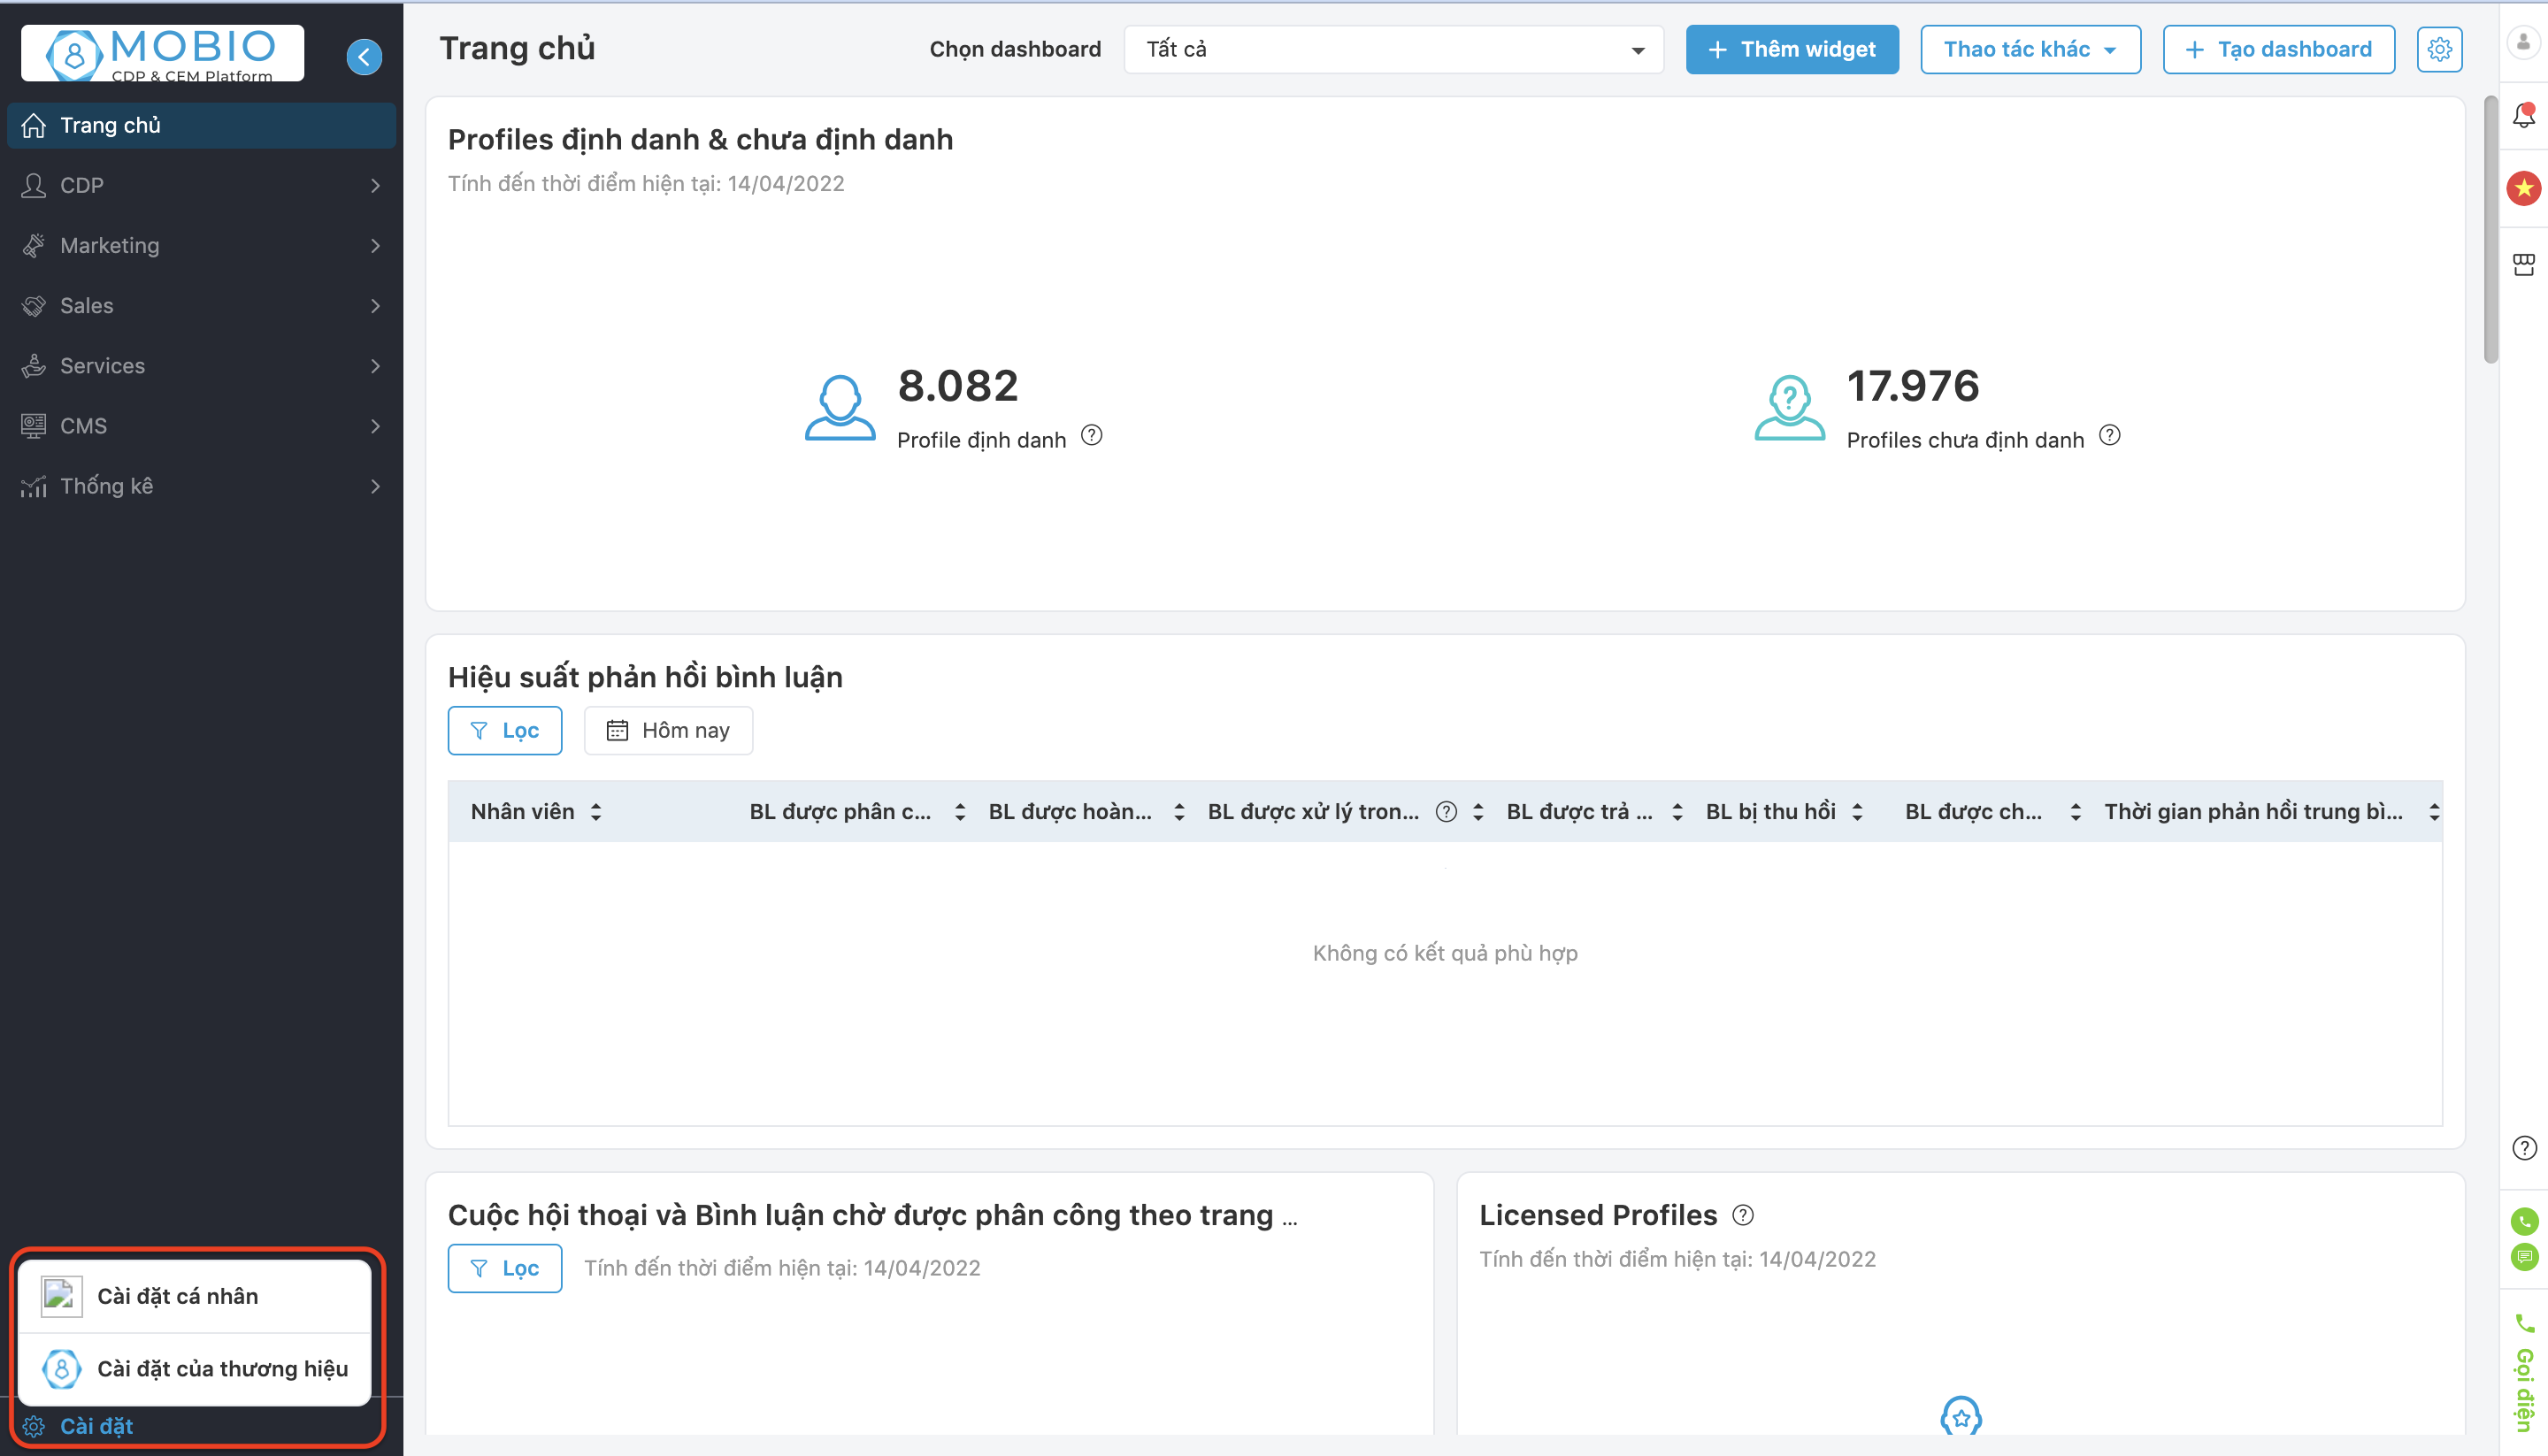
Step 1: In the bottom left corner of the screen select Activation CDP → select Company Account.
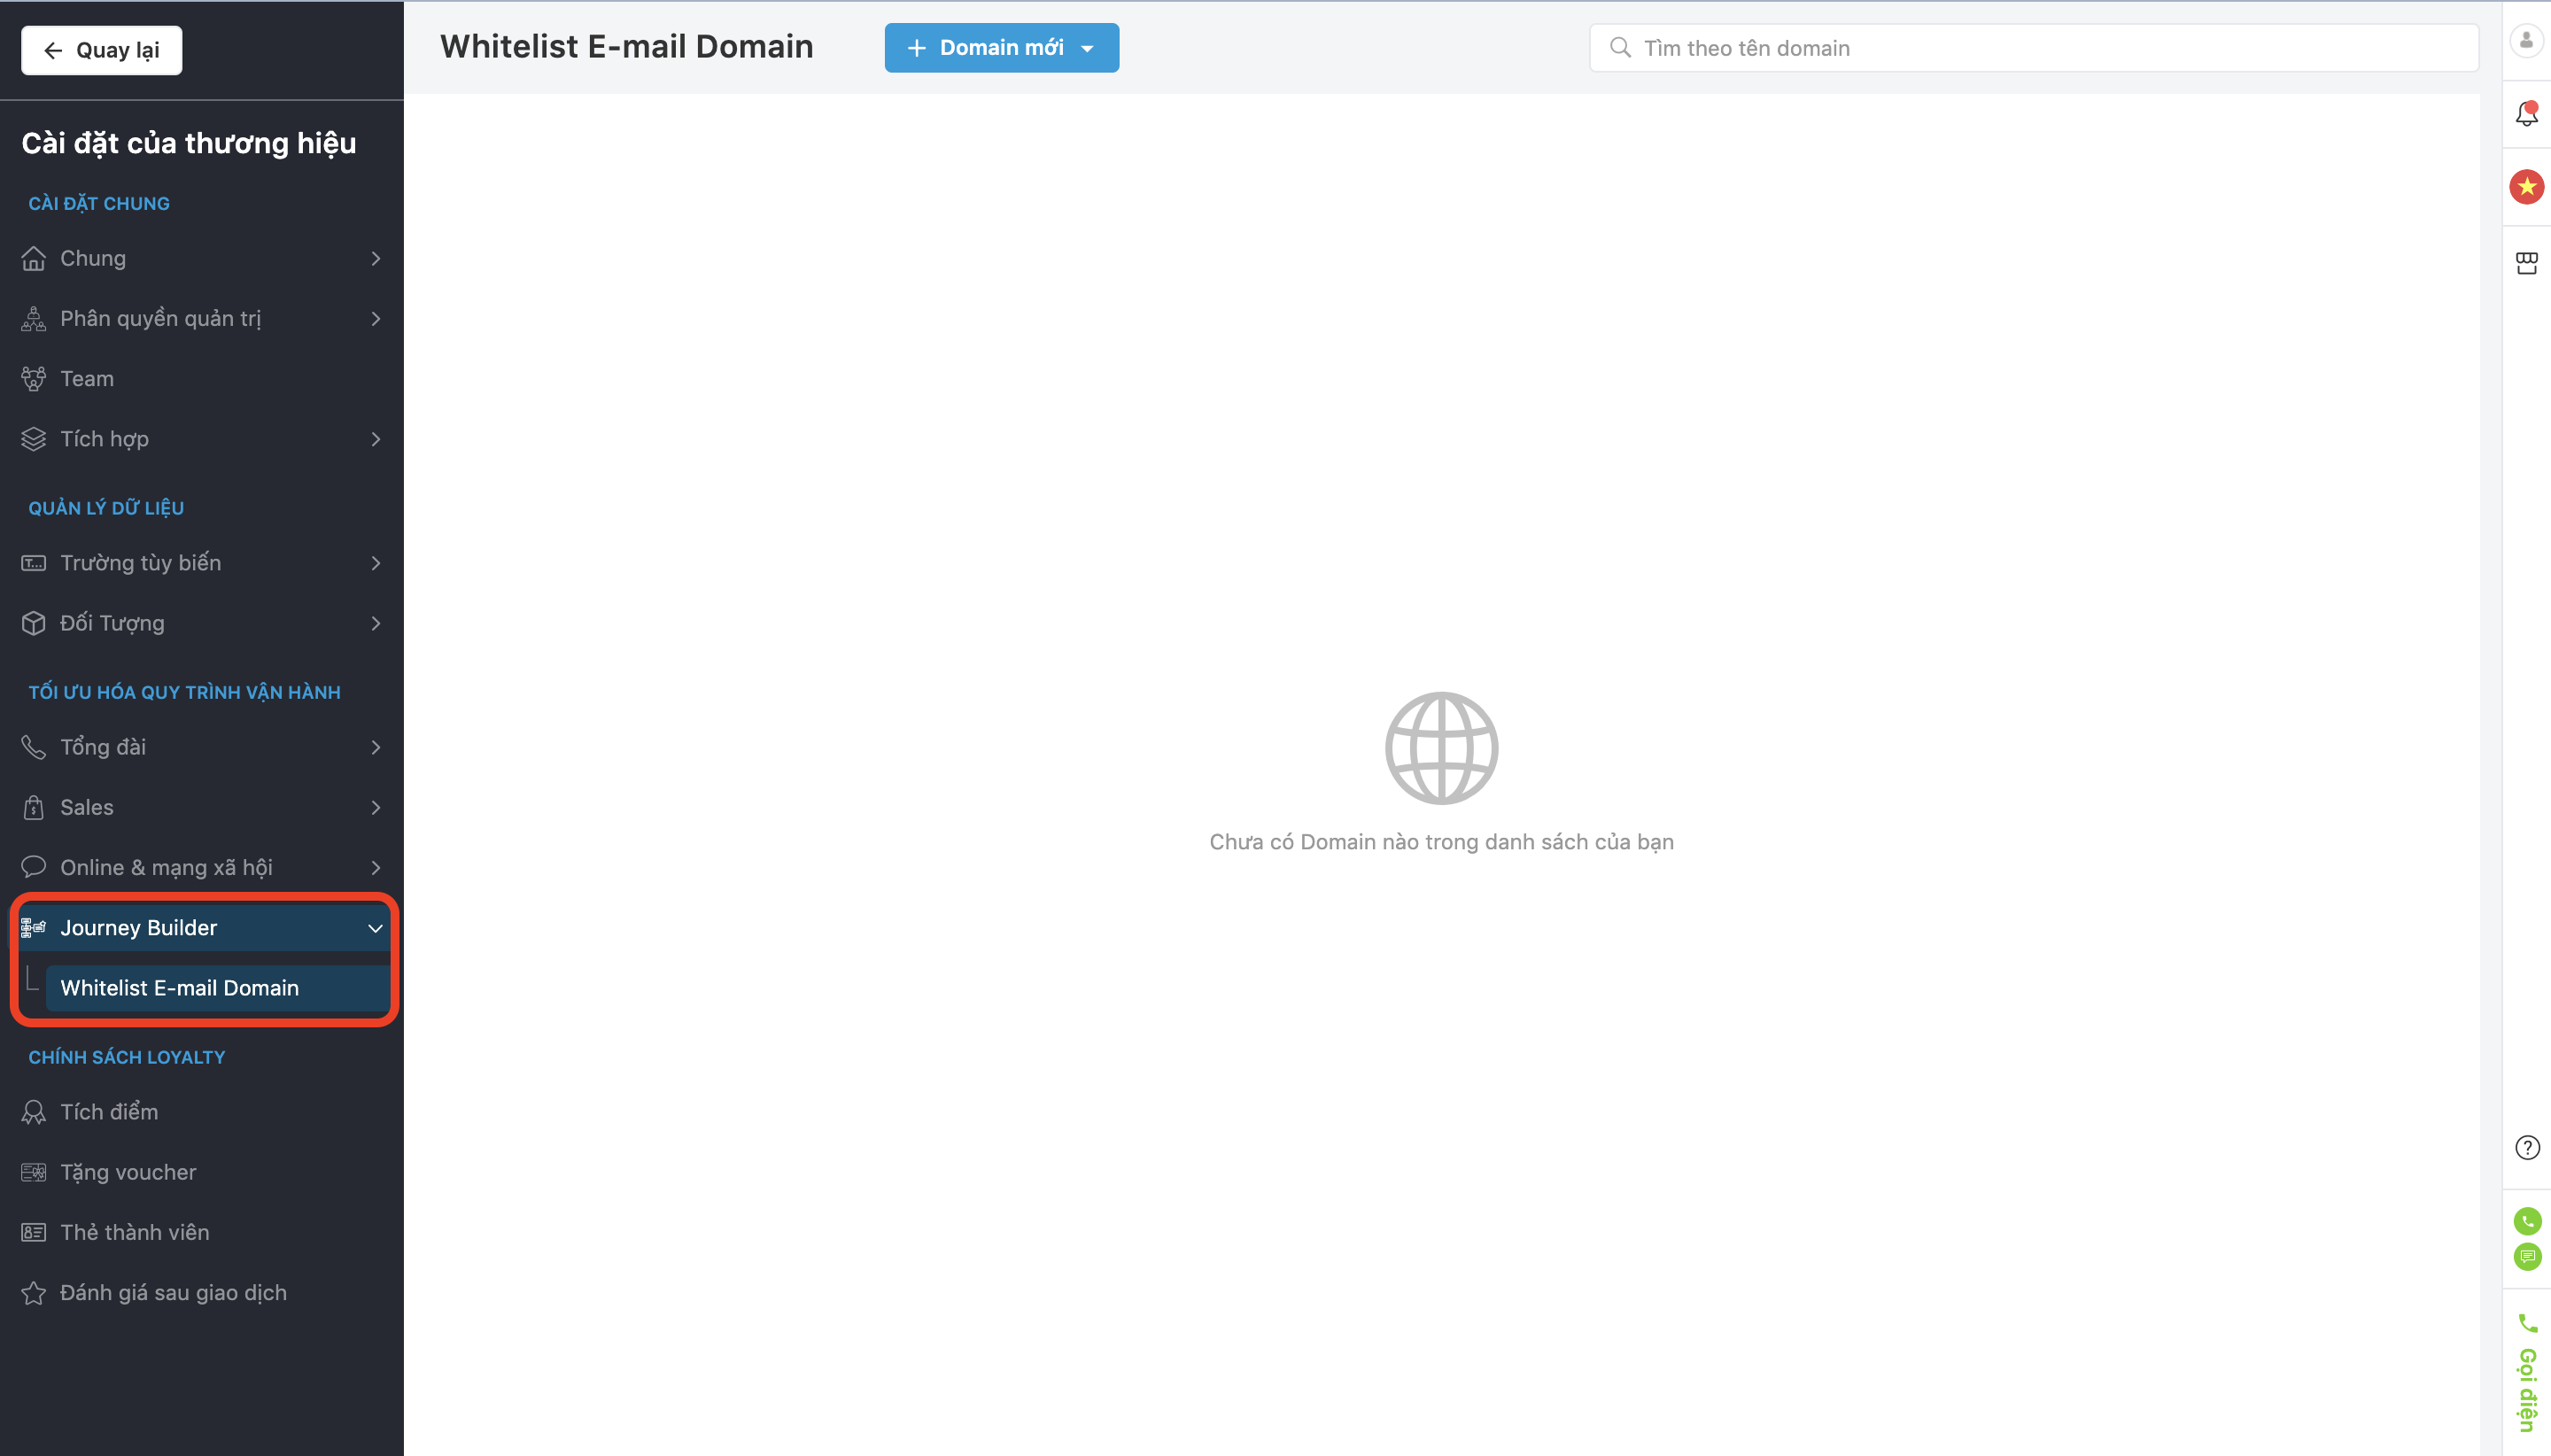
Step 2: In the Optimization of Activation CDP → select Whitelist E-mail Domain.
Step 3: Select + New Domain.
There are 2 ways to add a new domain: Add one by one and Add from file.
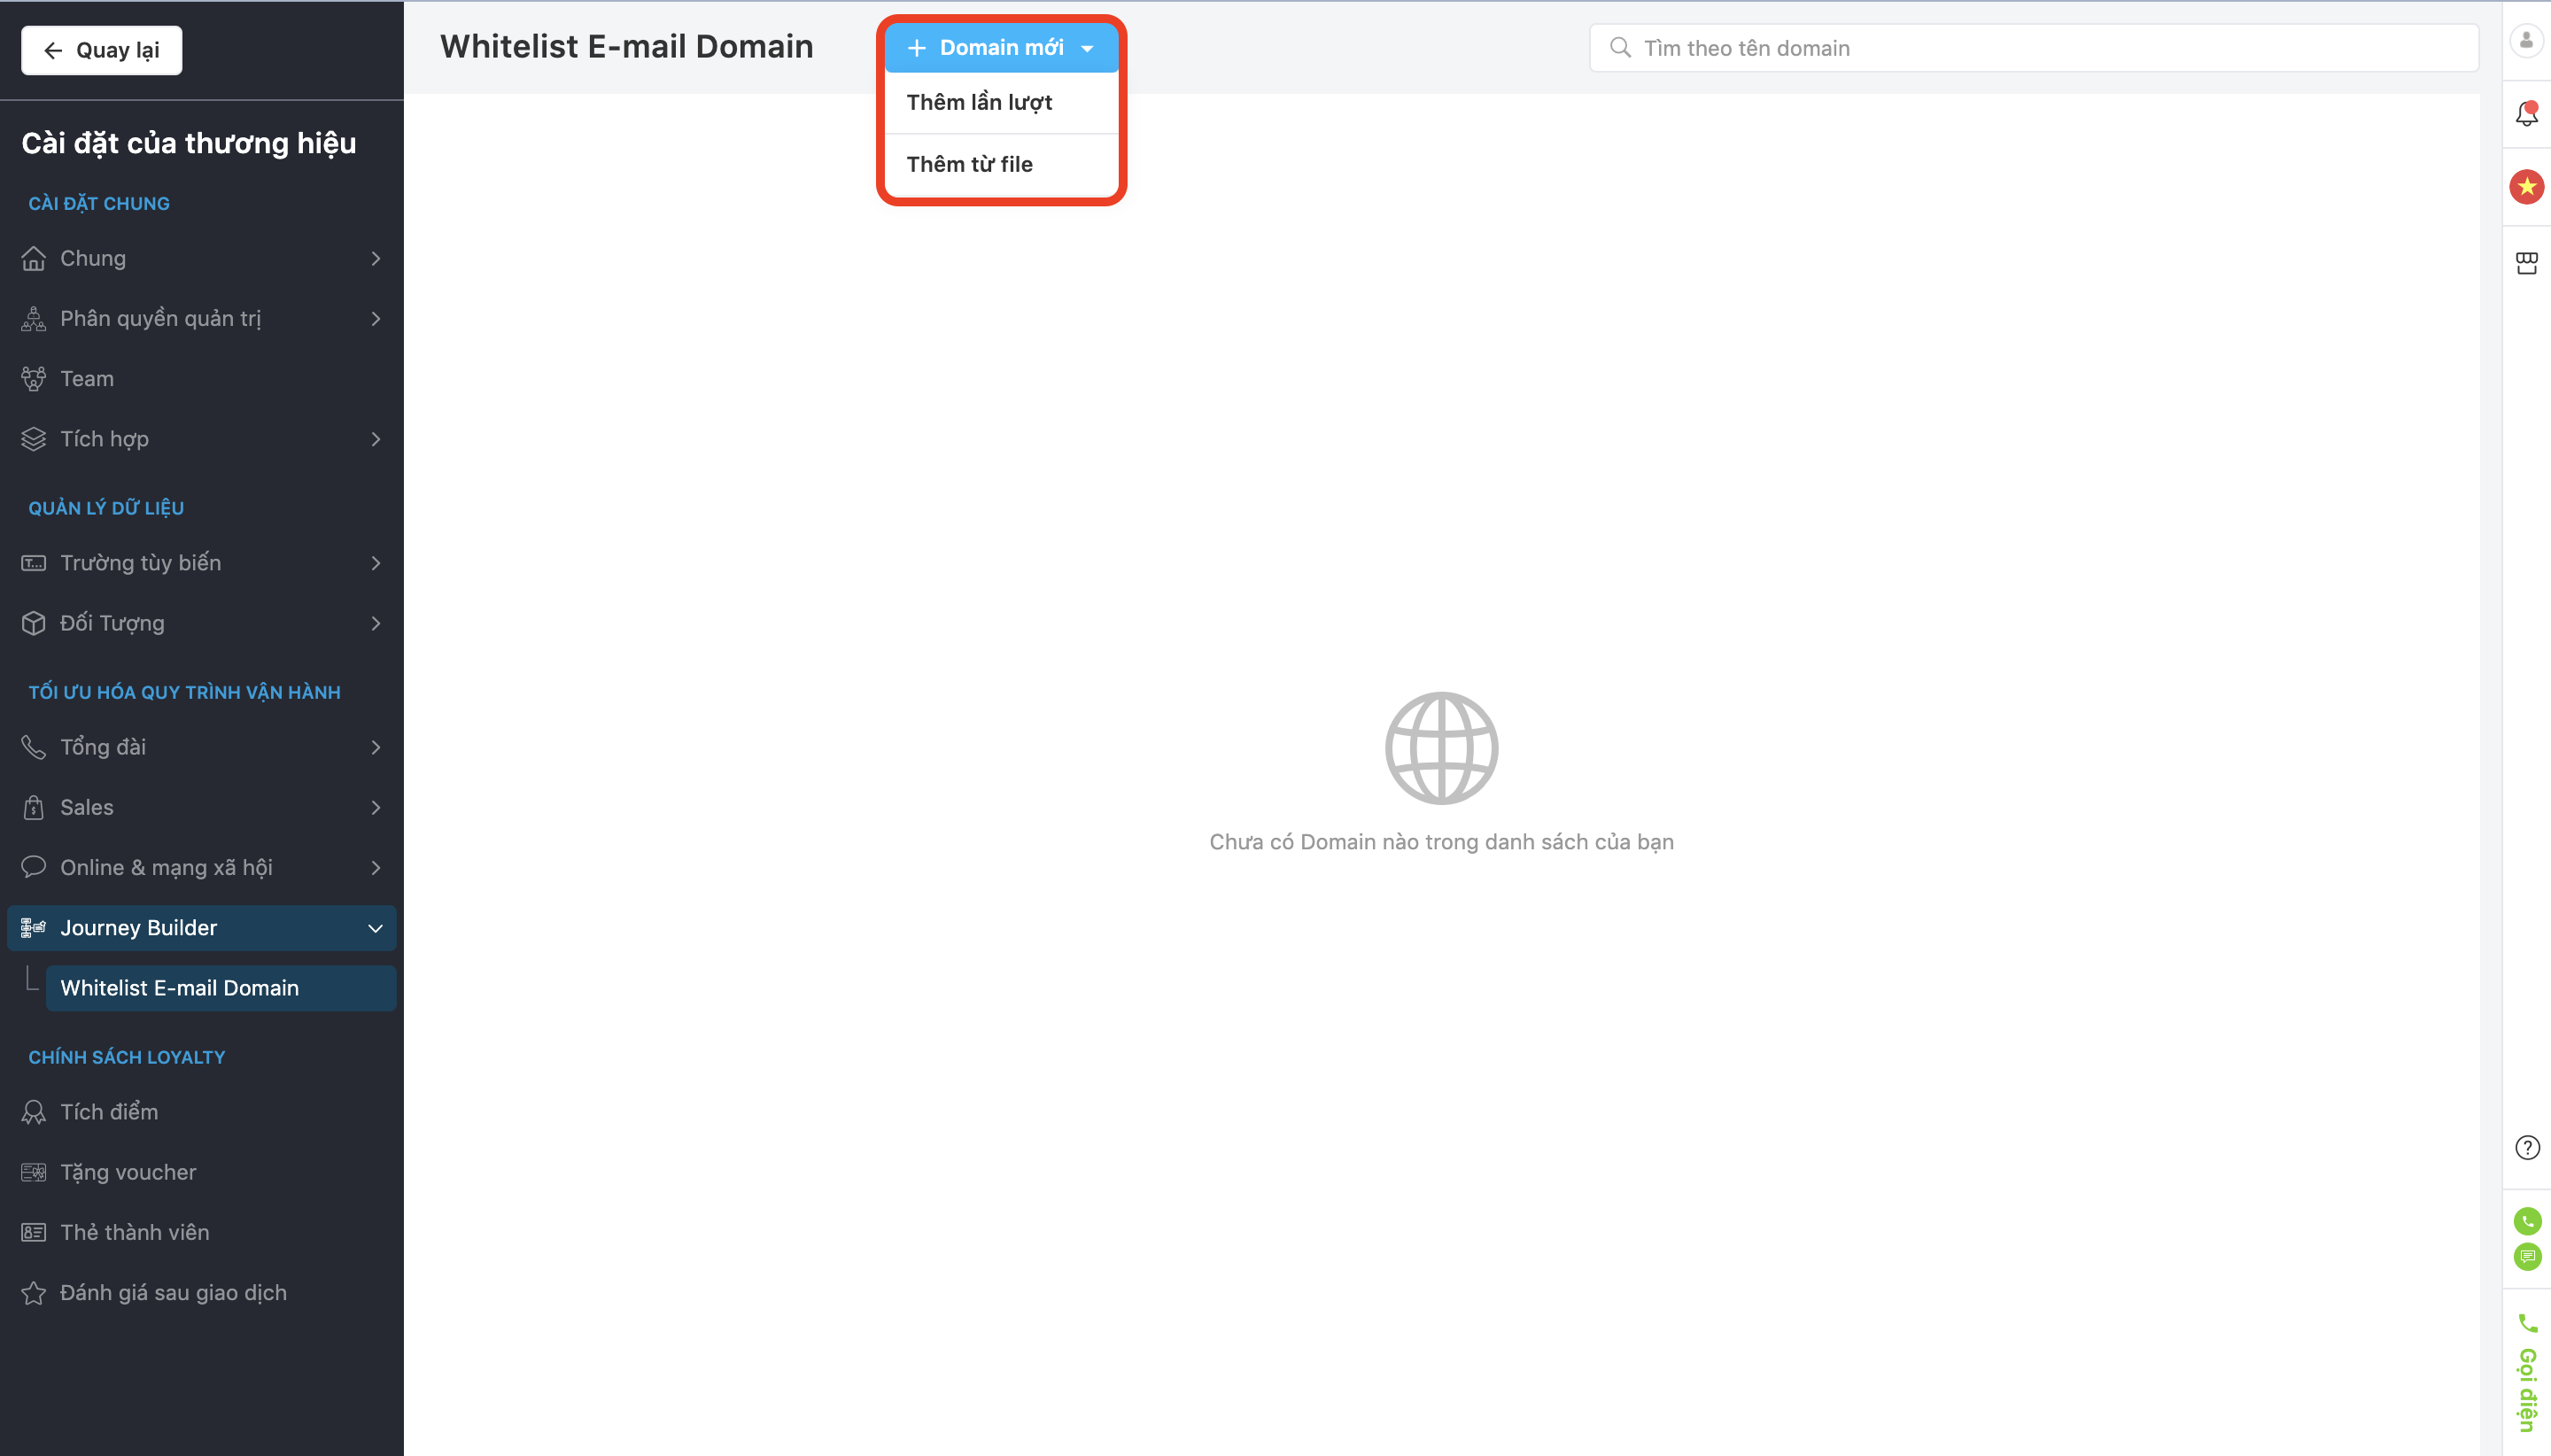
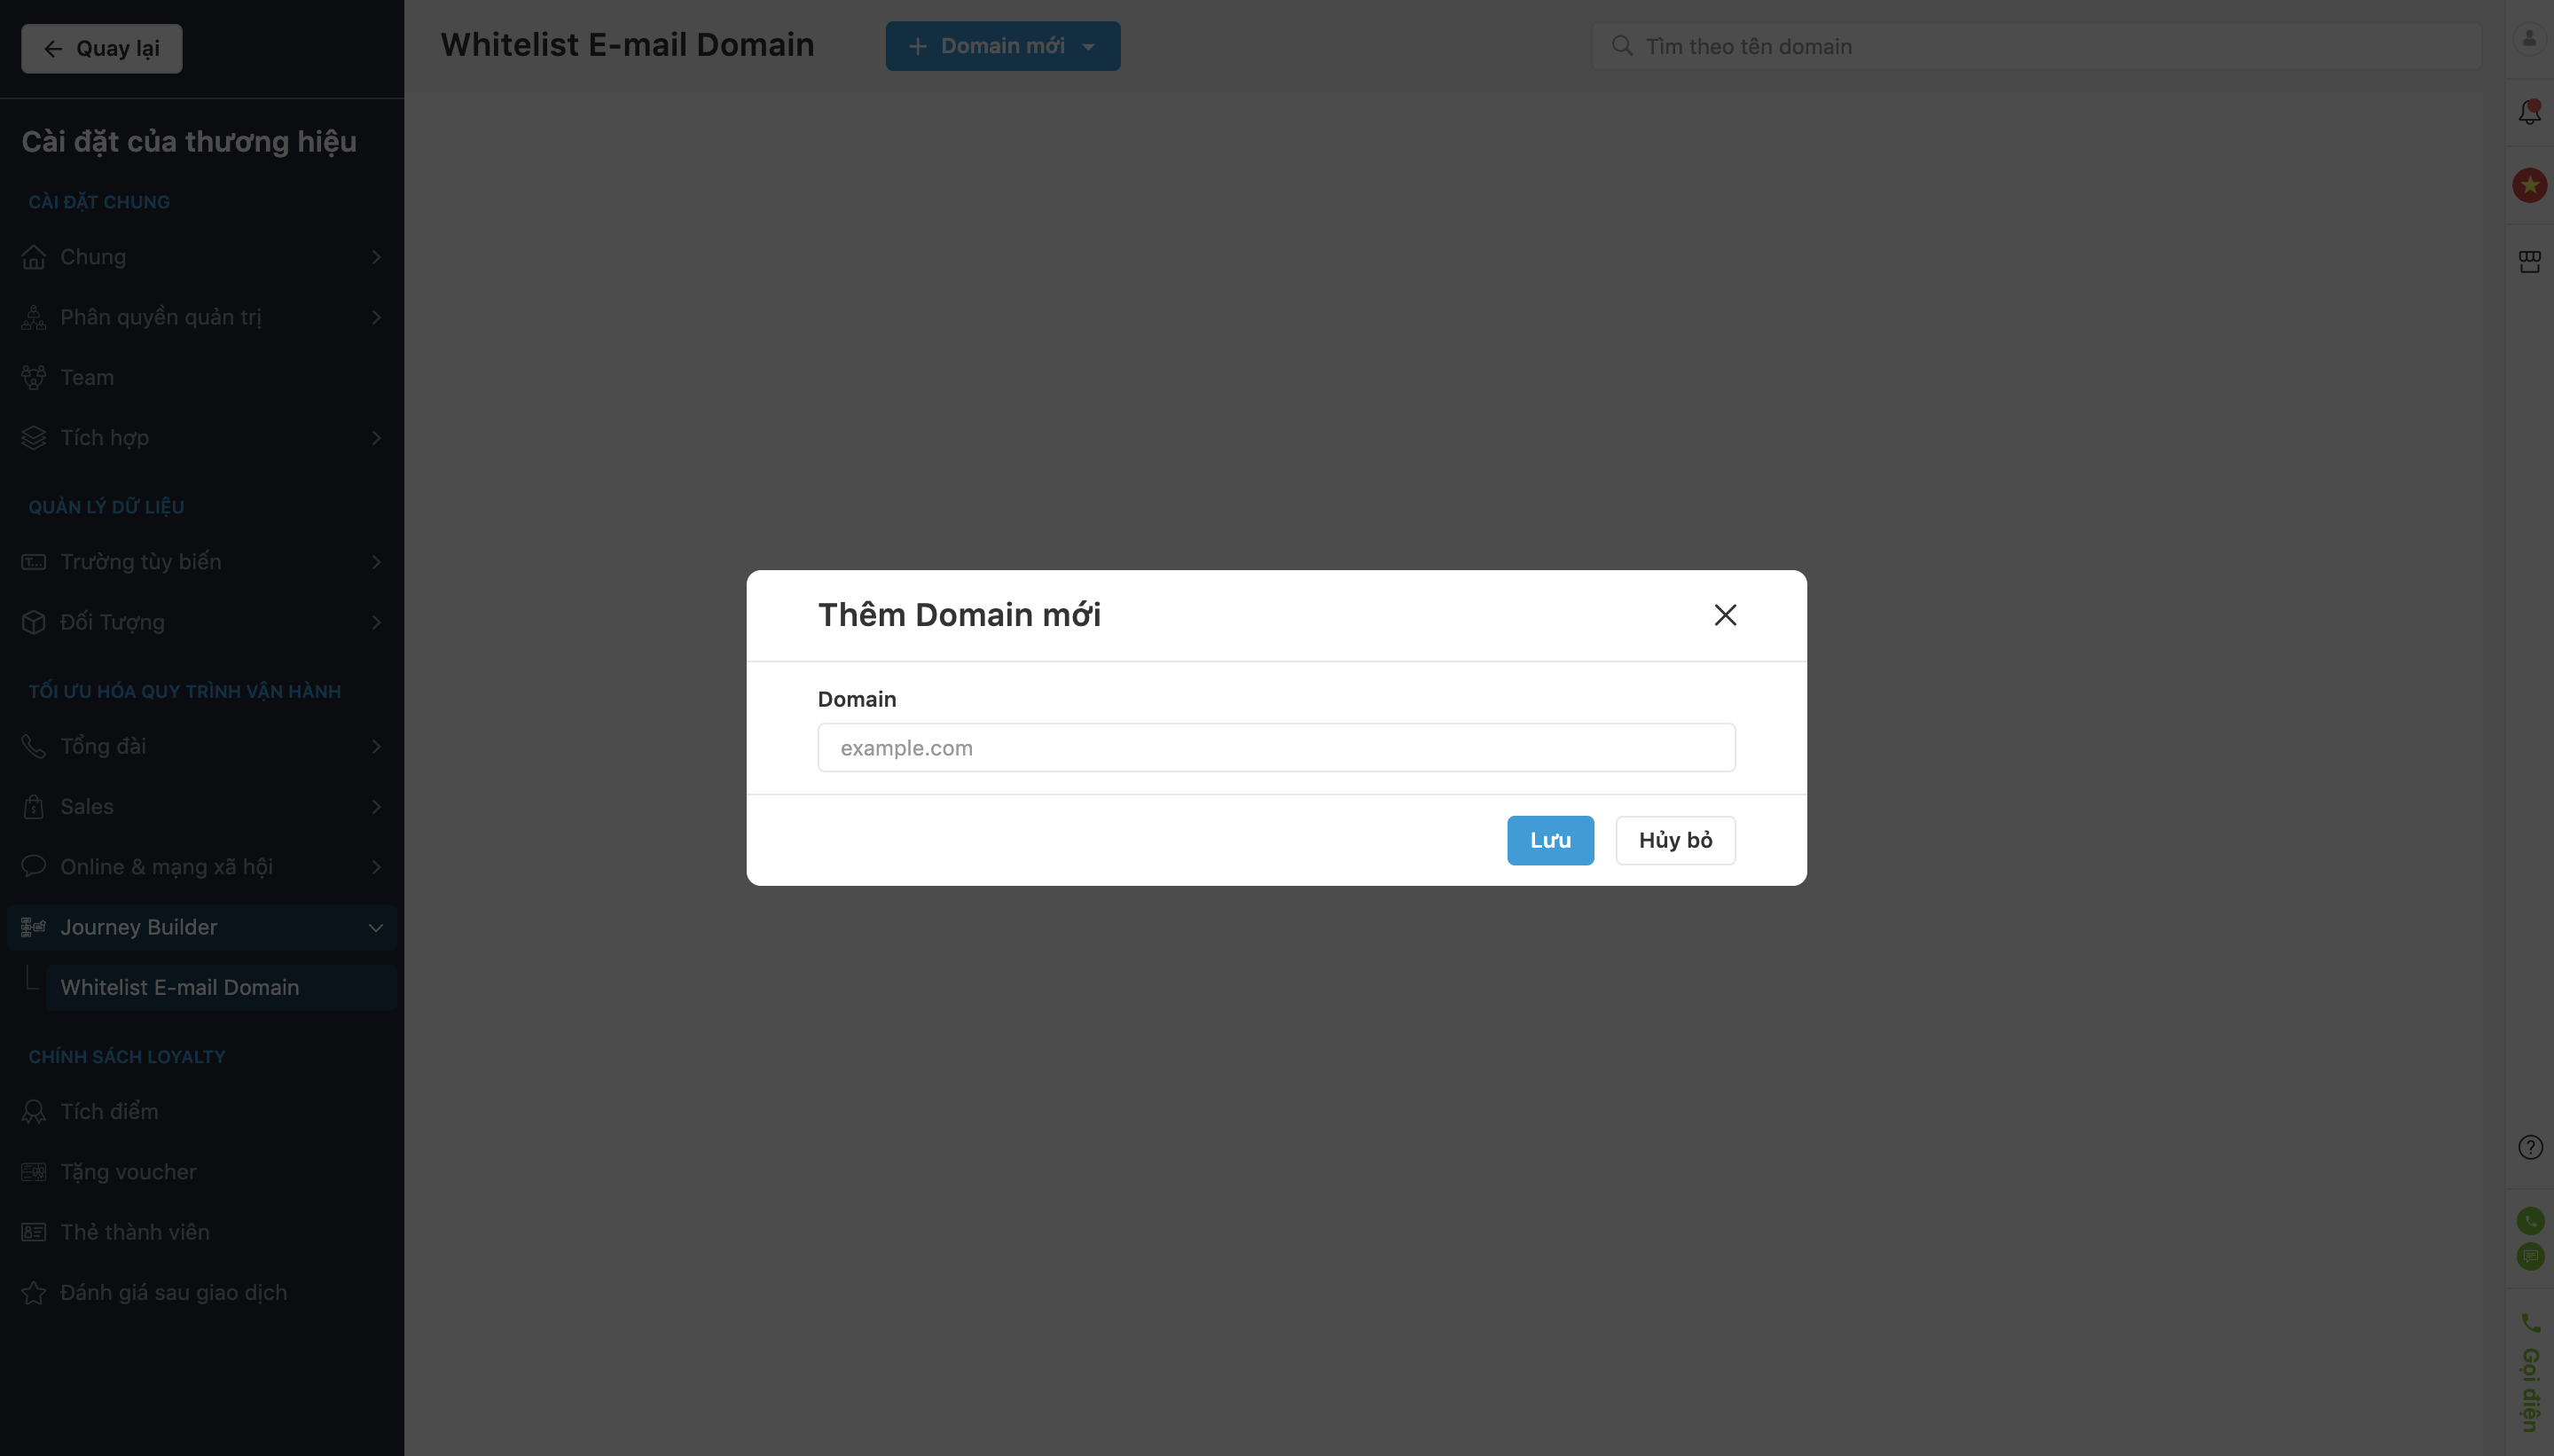
+ Step 1: Click on + Add one by one.
+ Step 2: The screen displays a popup to fill in information of the new domain.
+ Step 3: Click Save or Cancel.
- Add multiple domains.
+ Step 1: Click on + Add New Domain.
+ Step 2: Select Add from file.
File input type: Select & upload the file to the system.
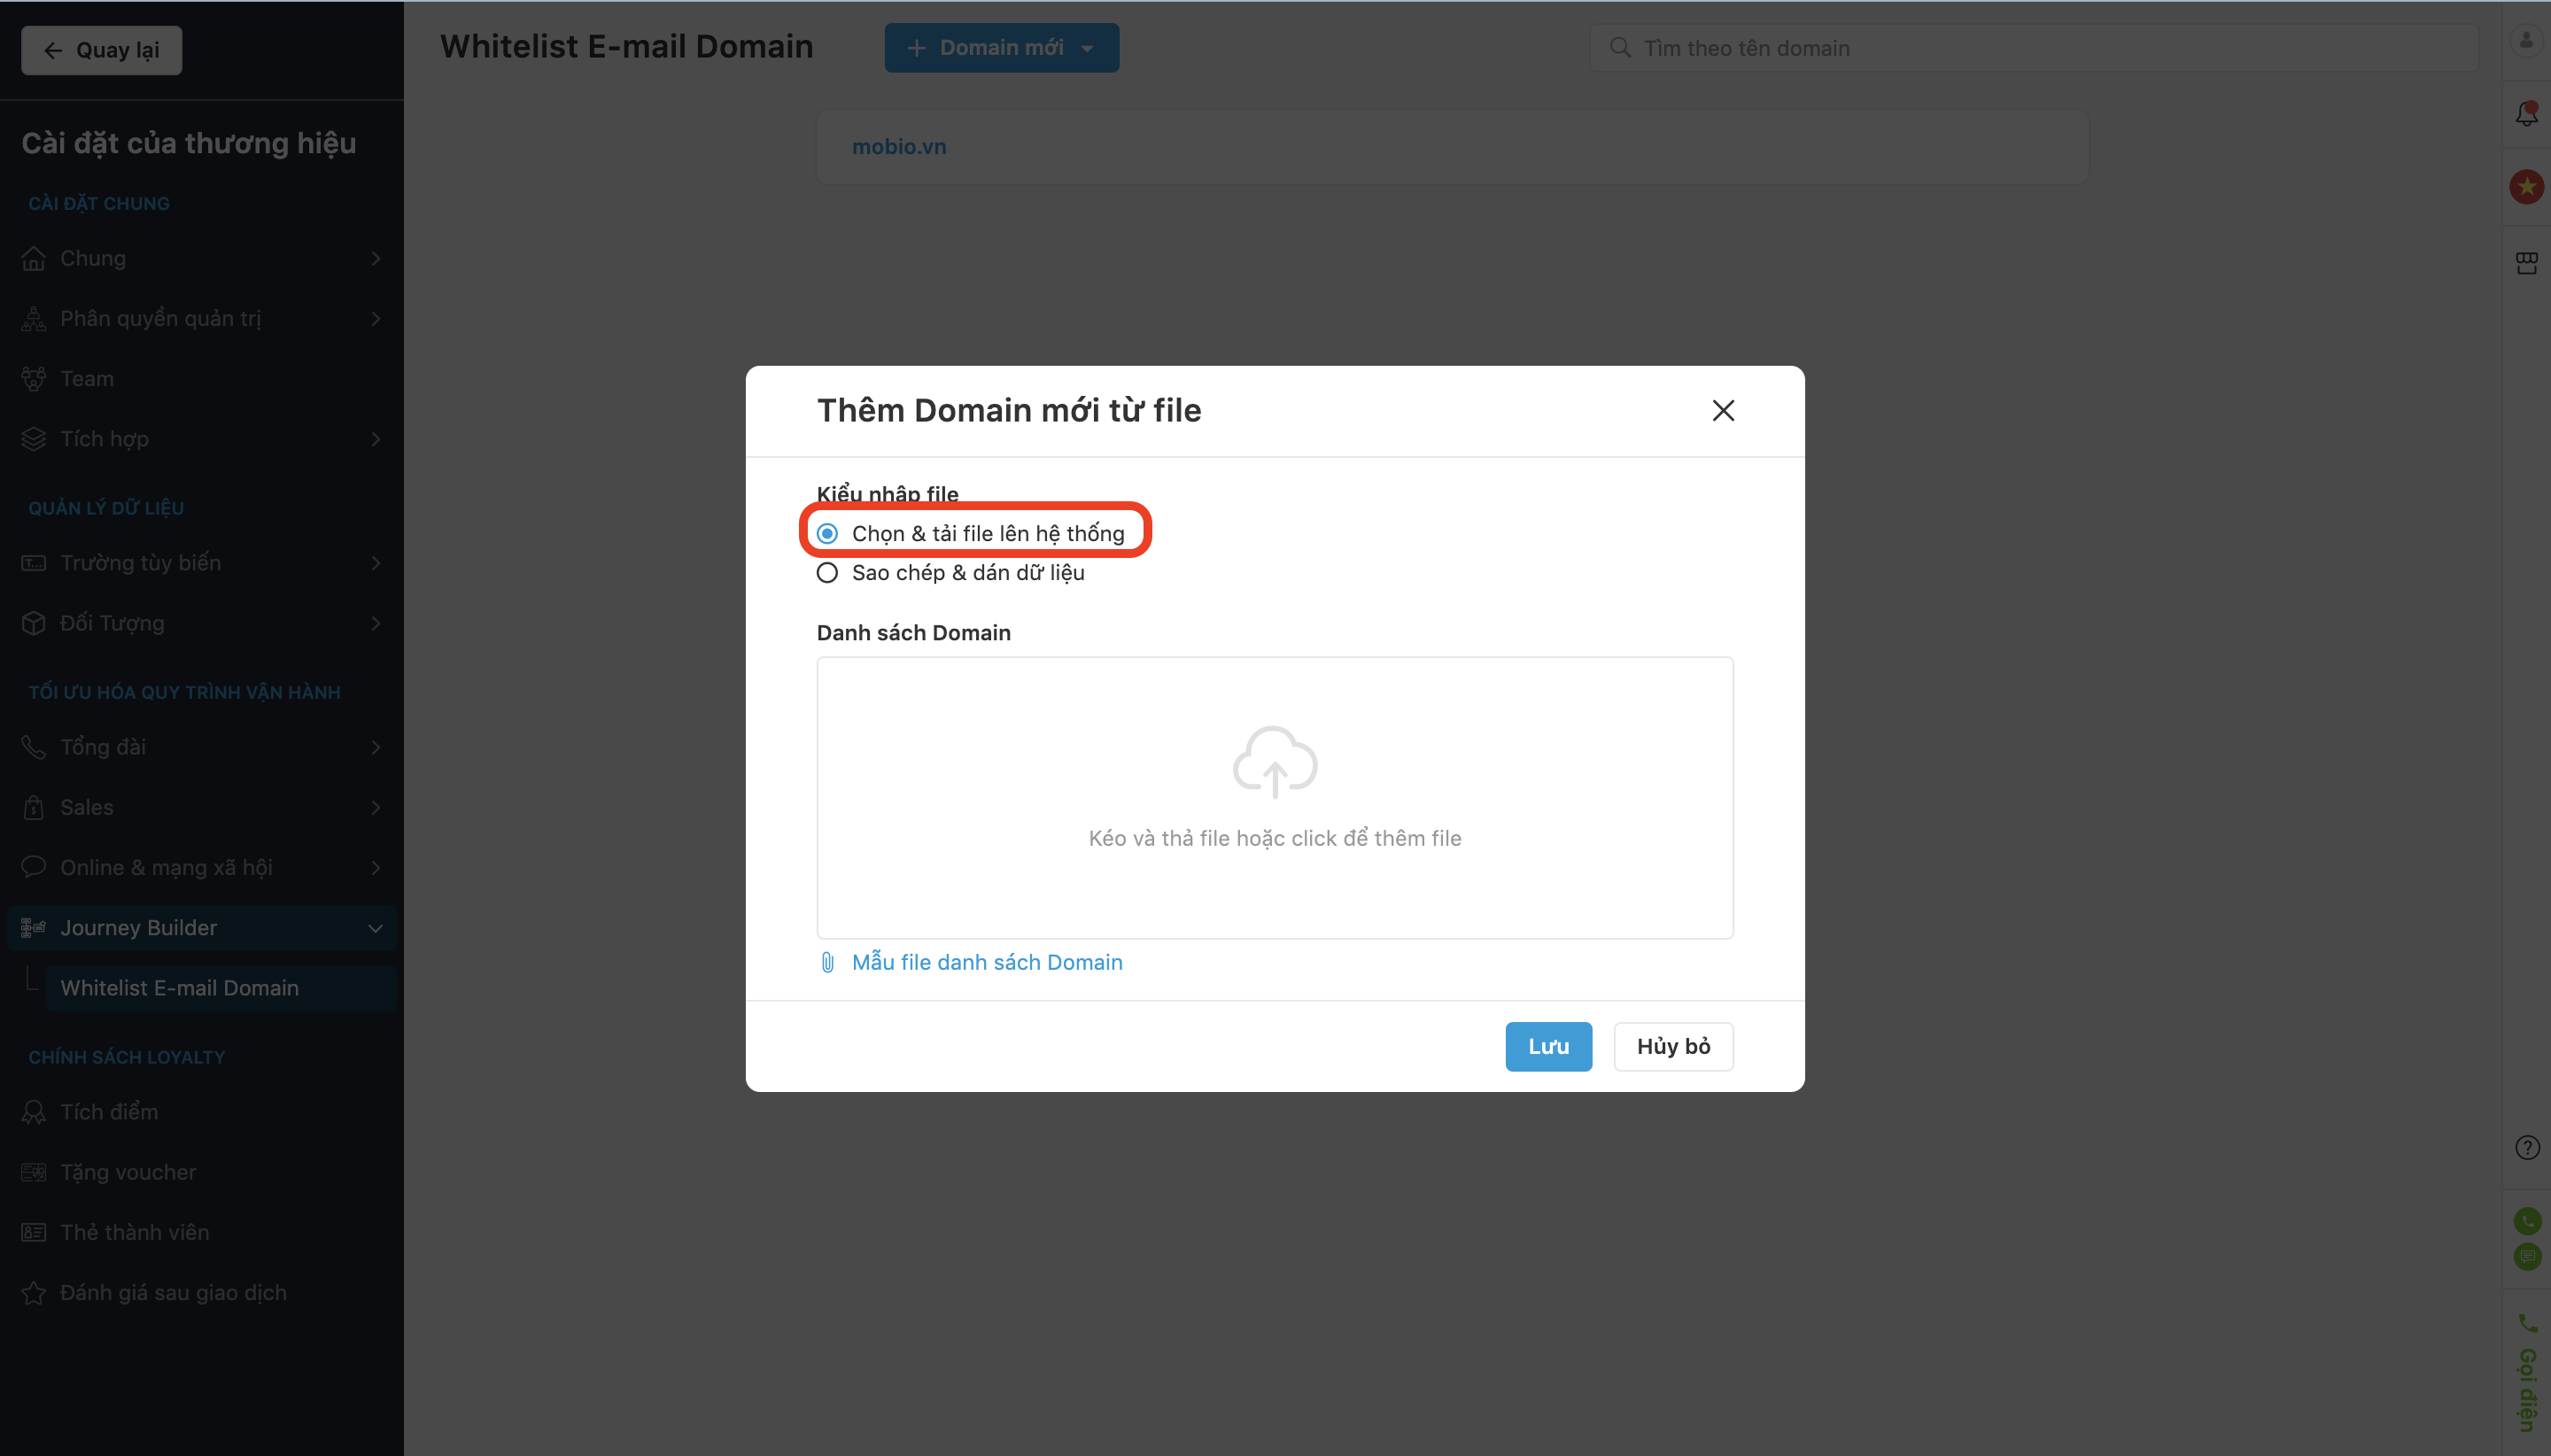
The user uploads the Excel file of the Domain list file template, then adds the Domain information according to that template and uploads the file.
File input type: Copy & paste Data.

Users copy the content from the excel file or manually type the content to be uploaded into the Domain List box.
Note: The maximum limit of copied data is 1000 lines.
Step 3. Click Save or Cancel.
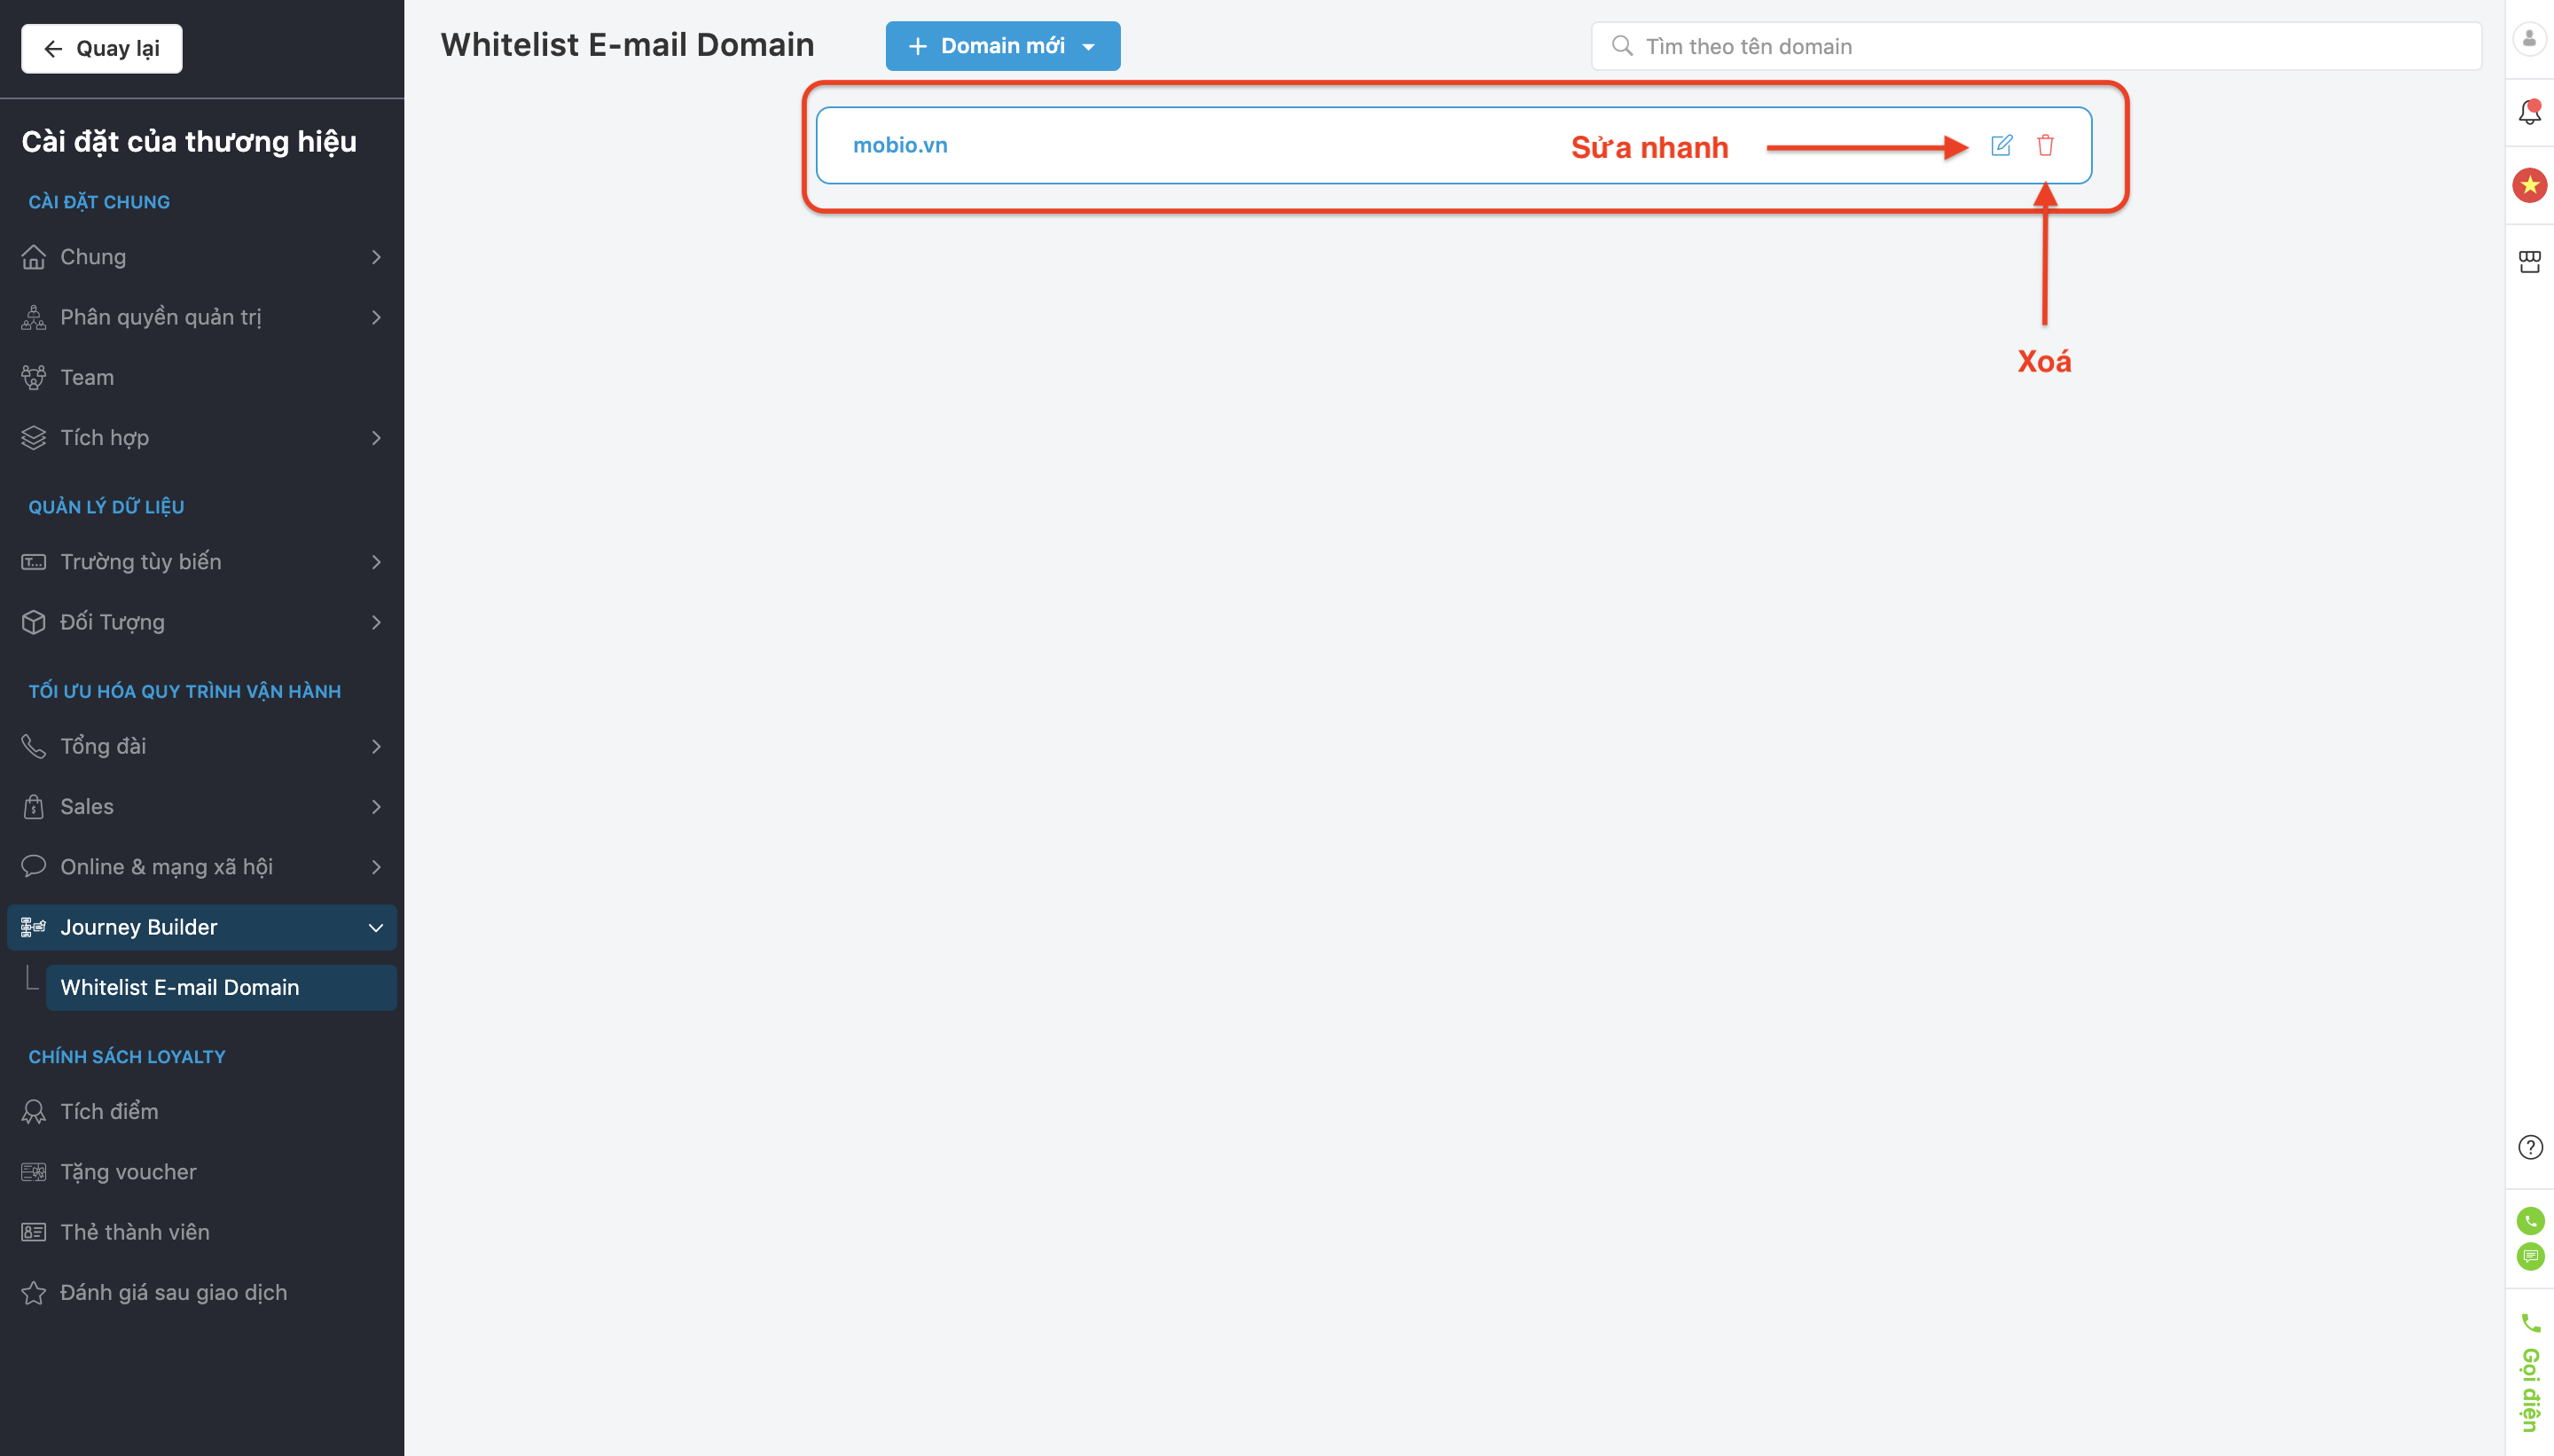
Edit/Delete a Domain
- Click on the pencil icon to quickly edit the domain name.
- Click on the trash can icon to delete the domain.
